 My mother's birthday was yesterday, and as tradition I made her dinner (well, her, me, and my dad). I decided to try something I had never done before: I attempted to make ravioli from scratch. Pumpkin ravioli to be more specific. My mother also requested a Pear Gruyere Pie (recipe here), which I had made last on Mother's Day. I have never made pasta from scratch before, so I ordered a pasta roller just for this occasion, though I know it will be getting much more uses than just today. When I was searching for a recipe for the pumpkin ravioli and sauce, I found about 11 very different recipes. So, I picked and chose what sounded good from each and made my own recipe. It turned out pretty good, though the pasta recipe needed some tweaking. Here we go:
I would make the pasta up first because it needs to sit for about 30 minutes
2 1/2 Cups Flour
(The recipe I was using called for semolina, but that must be too fancy for my Kroger's to carry)
3 eggs
1 TBSP Extra Virgin Olive Oil
Salt
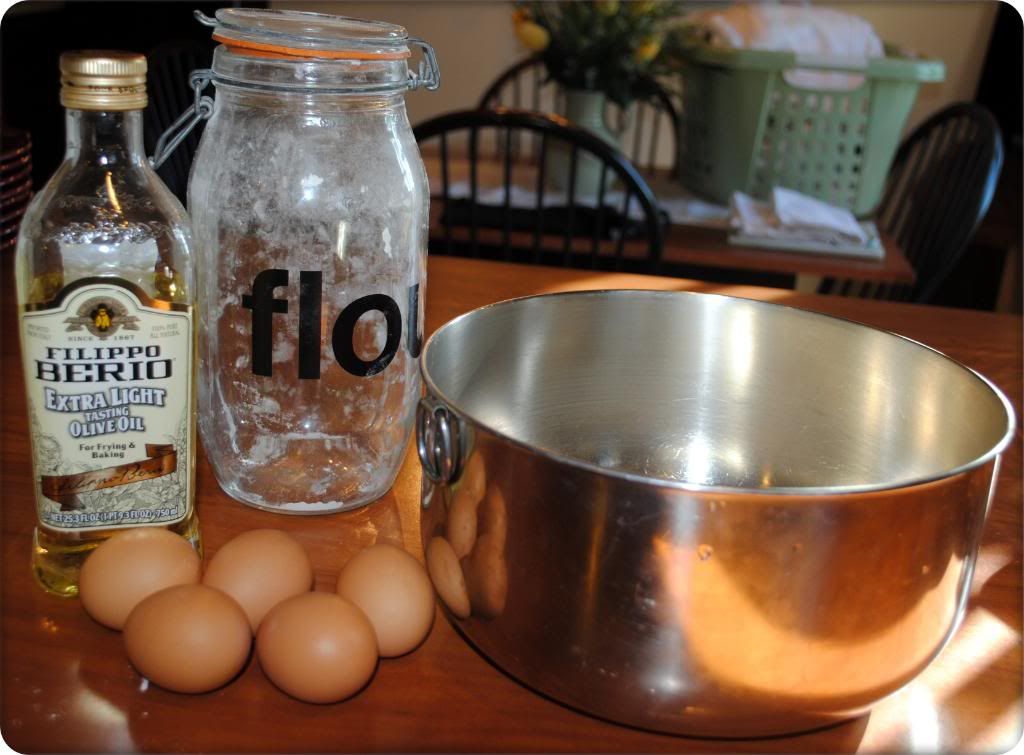
Sift the flour and salt in a bowl. Make a well in the middle. In a separate bowl, whisk the eggs and olive oil together. Pour the eggs into the well and slowly incorporate the flour.
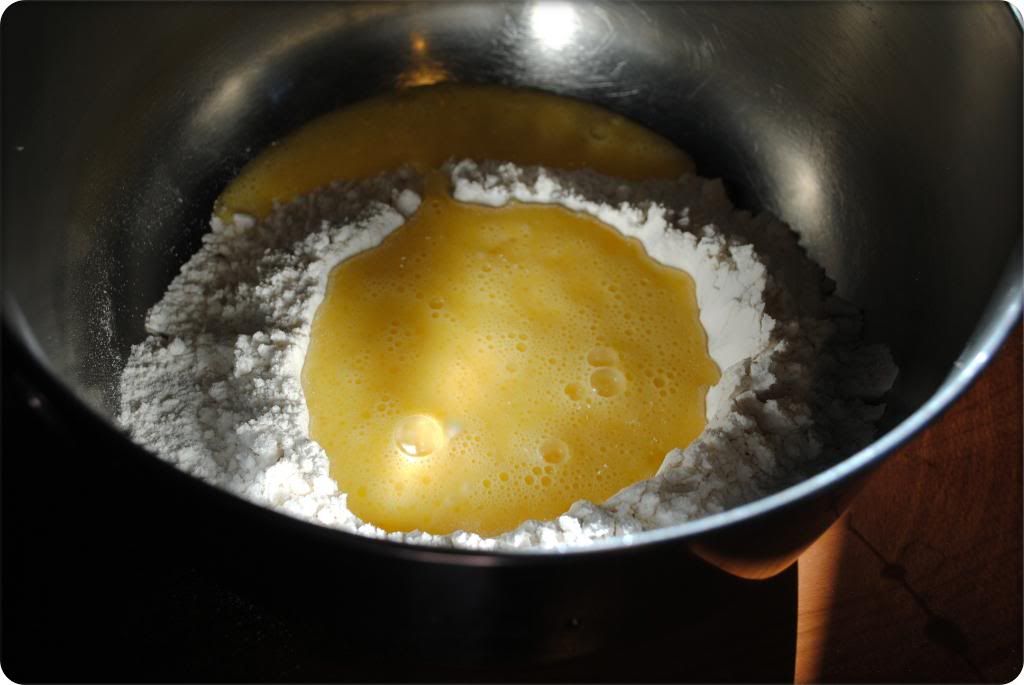
Flour your working surface and knead the dough for about 4 minutes. Put mixture back in bowl and let sit for 30 minutes.
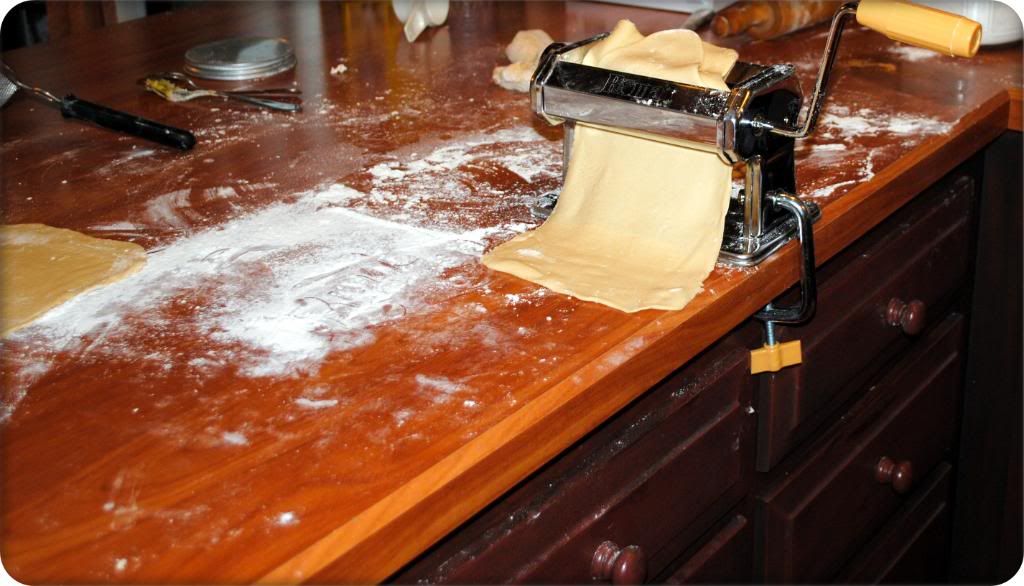
After the 30 minutes, flour the dough lightly, knead a few times and then split in half. Pass the dough through the largest setting of the pasta roller (though you could easily use a rolling pin too). Continue to pass dough through roller, on successively smaller settings until it is 1/8inch thick. Make sure to keep your surface floured. Your two pasta strips should be relatively even in length and width. (I was sort of rubbish with taking pictures of the rest of assembling the ravioli from here on.)
Pumpkin Mixture:
2 carrots, thinly sliced
1/4 C butter
Sage
2 TBSP real maple syrup
1/2 tsp cinnamon
1/2 tsp ginger
1/2 tsp nutmeg
1/2 C shredded parmesan
13 oz 100% pumpkin Puree (my pumpkin can was 15 oz, and I added the remaining pumpkin to the sauce)
1 egg yolk
Ricotta Cheese

Melt the butter in a pan and saute the carrots until soft. Cut the sage into small pieces and add to the carrots. Also add the maple syrup, cinnamon, ginger, and nutmeg. In a separate bowl, mix the pumpkin, ricotta cheese, Parmesan cheese, and egg yolk. Add the carrot and spice mixture to the pumpkin mixture and run through the food processor.
Assembling:
On one strip of pasta, scoop a small amount of pumpkin mixture in two rows. I made sure my pumpkin mixture scoops were about an inch apart from each other, and at least 5/8 inch away from the edge. Whisk one egg together and use a baster to spread it on the pasta dough in between each pumpkin scoop as the "glue". Place the other pasta strip on top and press down slight on the edges and in between each ravioli. I used a crimper roller to make the final seal and separation of the ravioli, though any cutting tool I think would work. I had enough to make 21 raviolis, and much more pumpkin mixture to make even more. Bring a large pot of water to a boil. Add the ravioli. It is done cooking when the ravioli float to the top.
While the water is boiling/cooking the ravioli, make the sauce.
Sauce Recipe:
1 C Heavy Whipping Cream
1/2 C Butter
1/2 C Parmesan cheese
1/2 C Sweet Wine
1/2 tsp cinnamon
1/4 tsp fresh ginger
1/2 tsp nutmeg
1 TBSP flour
Salt
Remaining pumpkin
Melt the butter in a sauce pan. Add the flour and whisk quickly. Add the cream, salt, cinnamon, ginger, nutmeg, and remaining pumpkin. Bring to a boil. Add the wine and cheese. Allow to simmer until ready to serve.
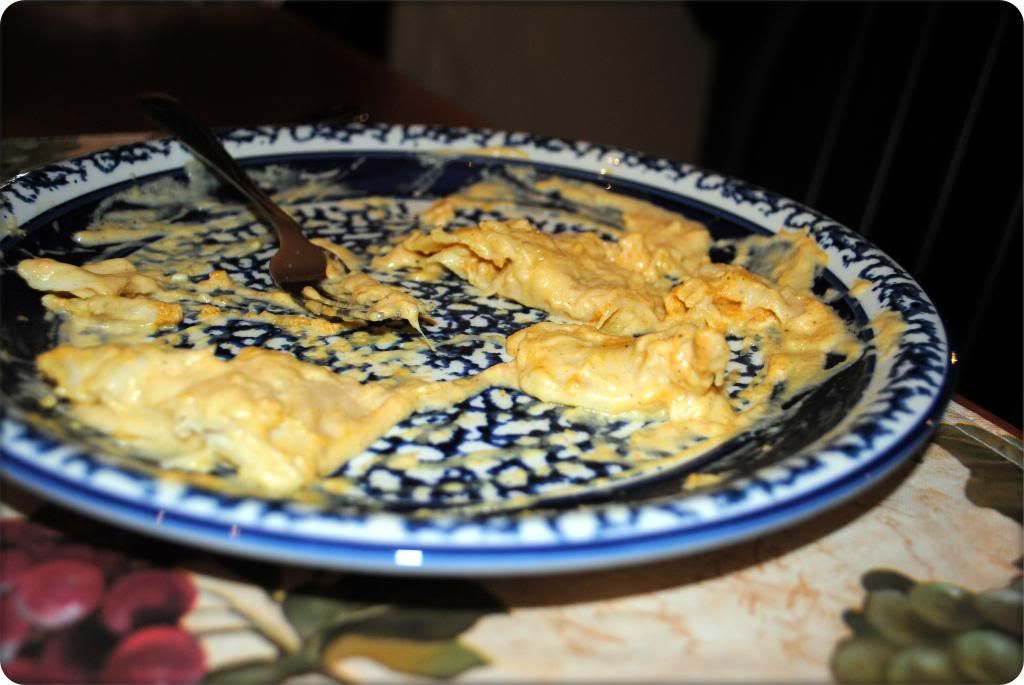
I forgot to take a proper picture of the ravioli and sauce until I was half way through eating, but here is a very messy picture of what it sort of looked like.

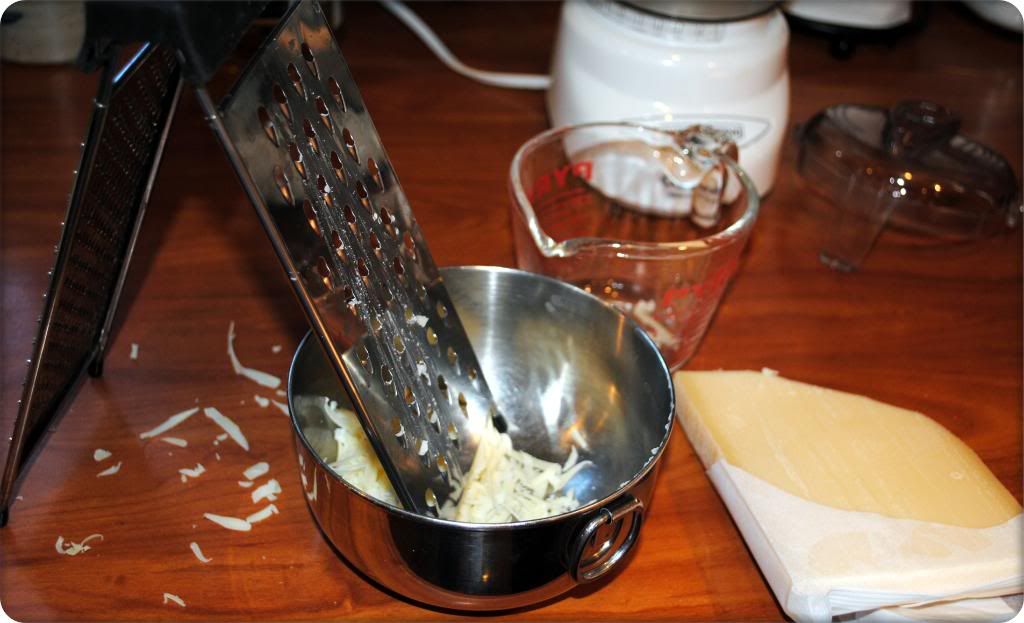
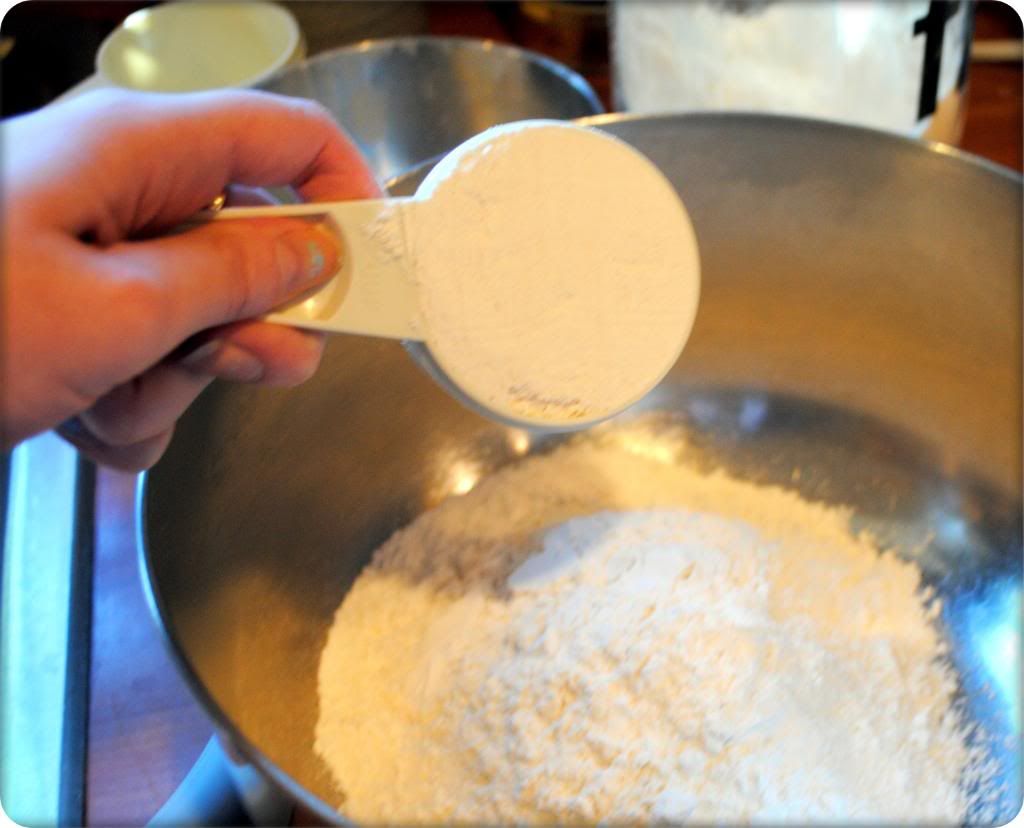
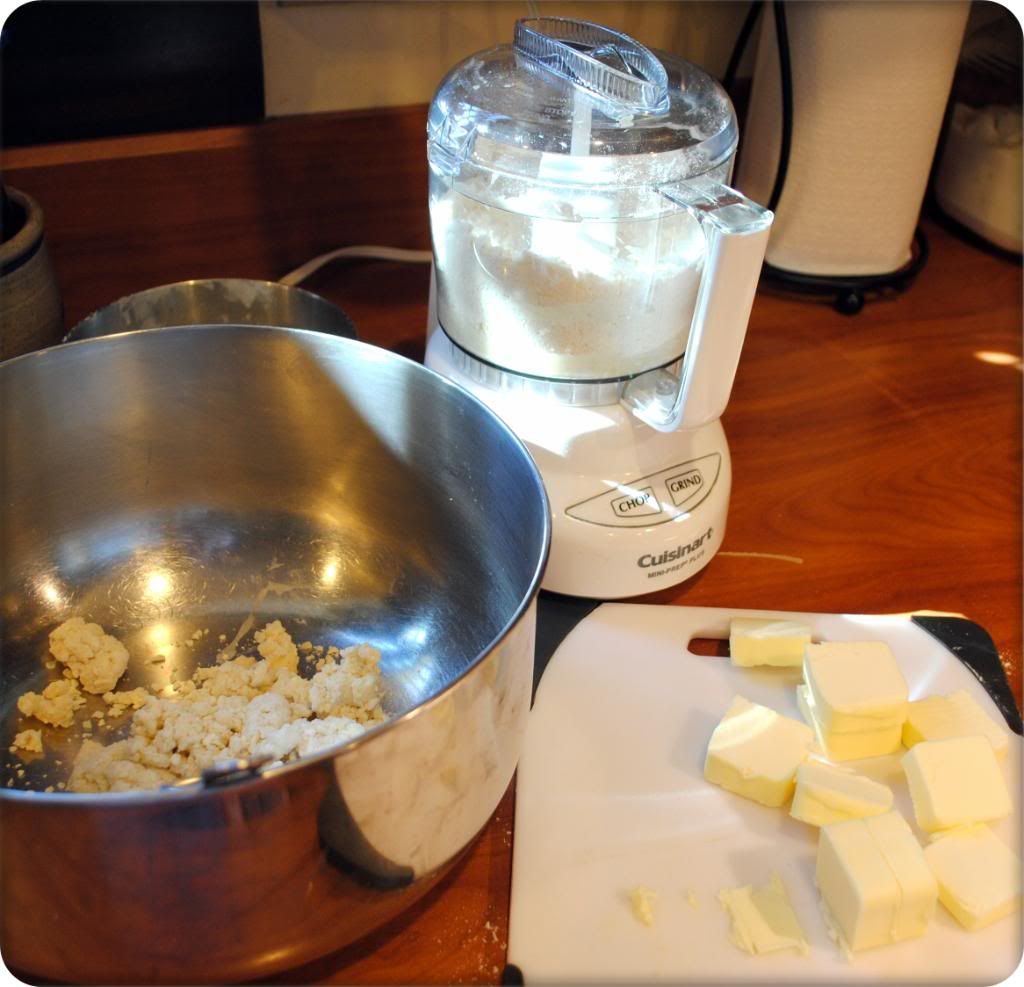
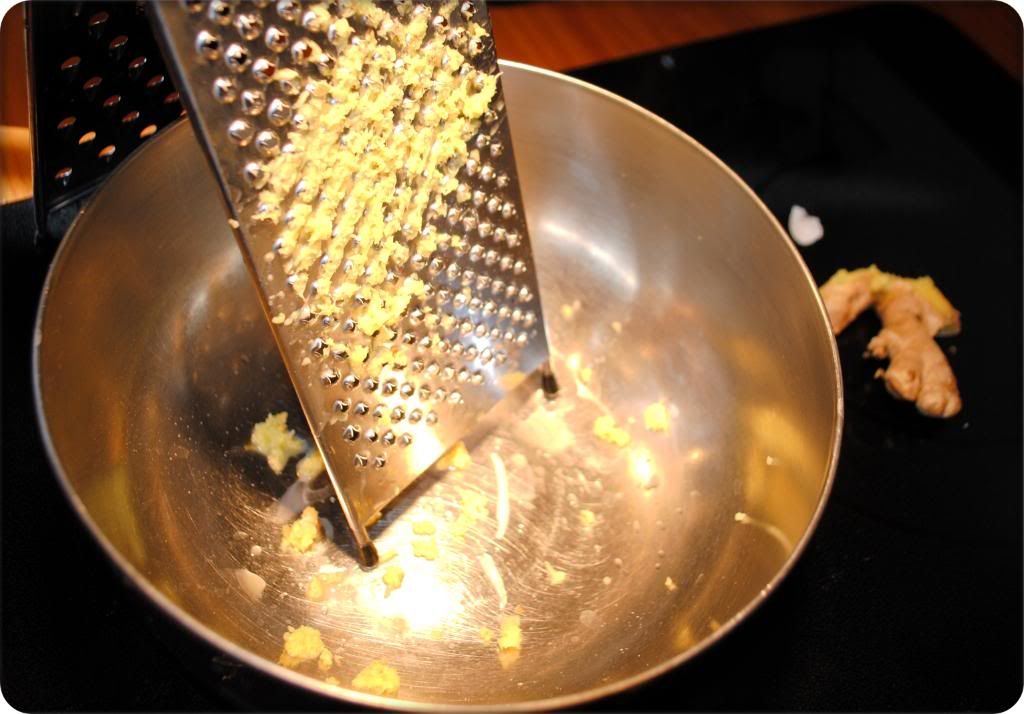
Also during this time, I was making a Pear Gruyere Pie. Oh Pushing Daisies, how I miss thee so much. I still mourn your adorableness that we lost. I believe, super duper delectable(I wish you were real) Piemaker Ned and lovely charming (you make me have wardrobe jealousy) Chuck, this is the very best pie you created. The only thing I adjusted from the recipe I linked in the beginning was that I used about 5 or 6 oz of Gruyere cheese instead of 3 and I used red pears instead of Bartlett Pears. I really like the nuttiness of the flavor with the pears. I kind of went mad during this process of trying to make two separate things during the same time. I spent 6 hours baking today and was super duper tired at the end, but here is a picture tour of said pie making:
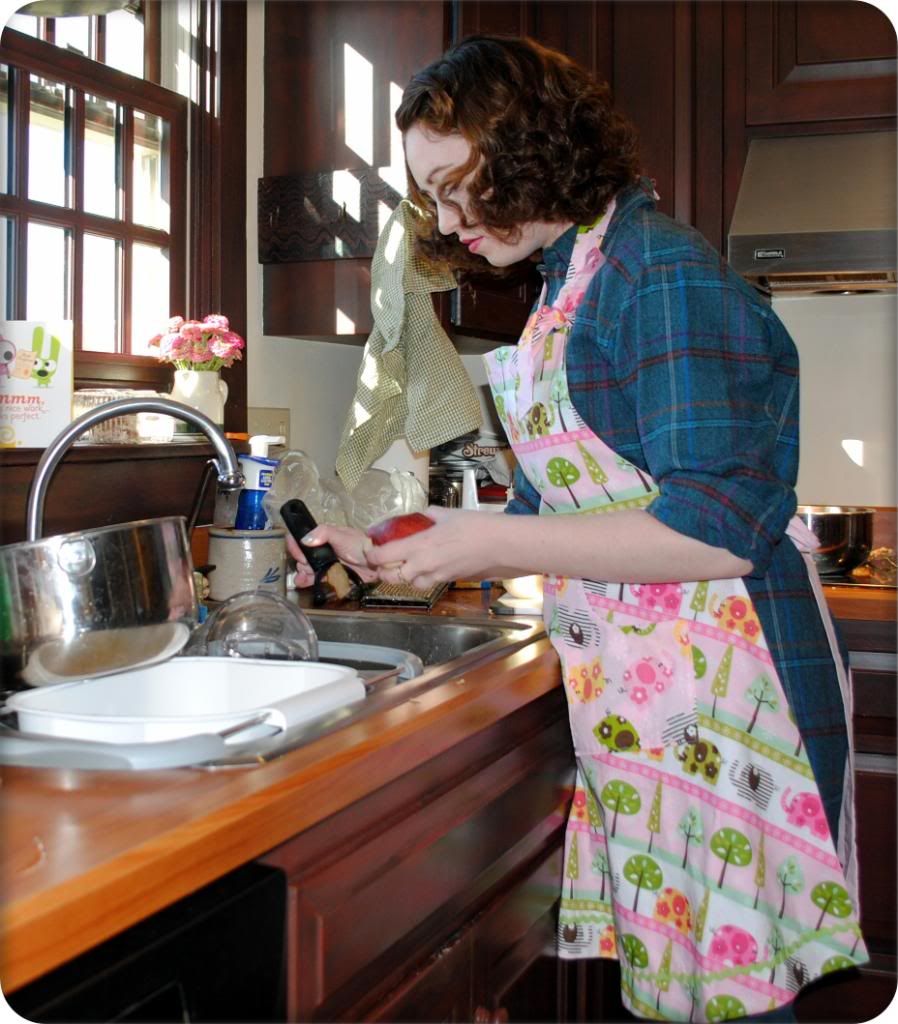
(I sliced my lovely finger while cutting the pears. Lovely)
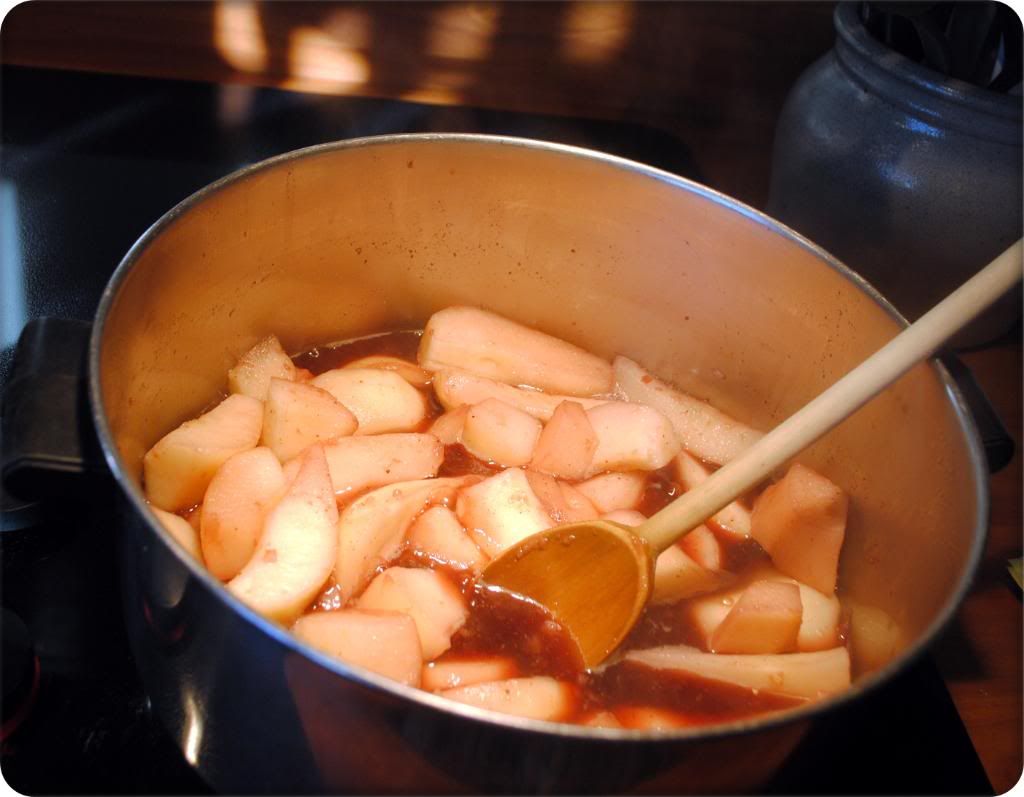
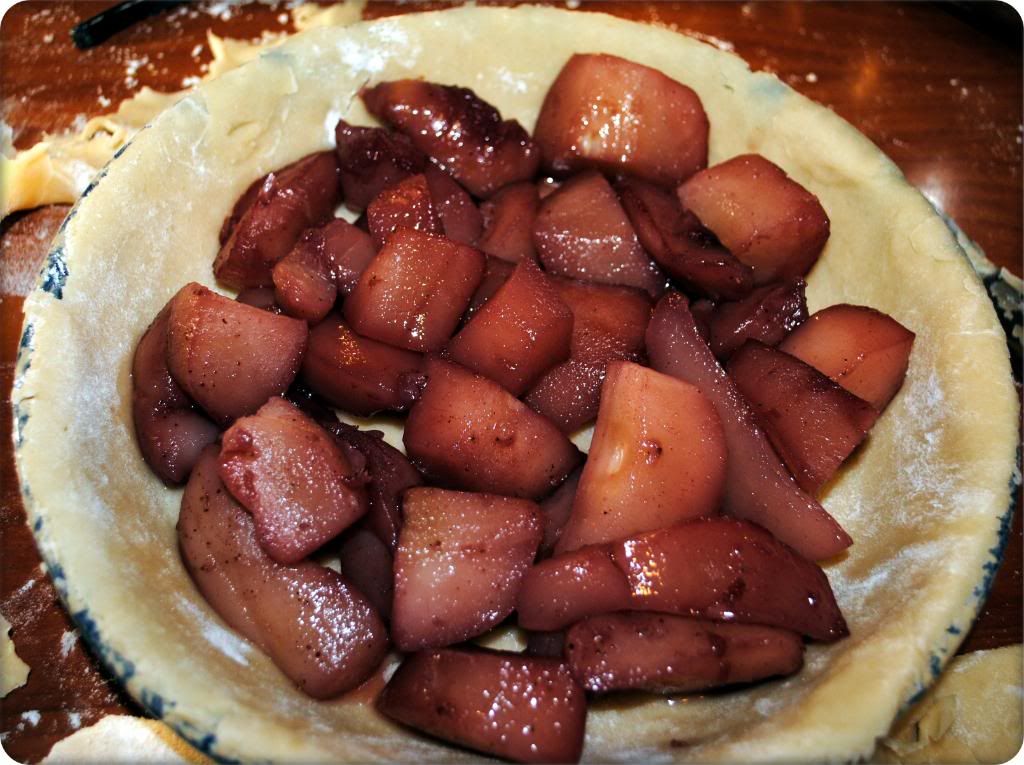
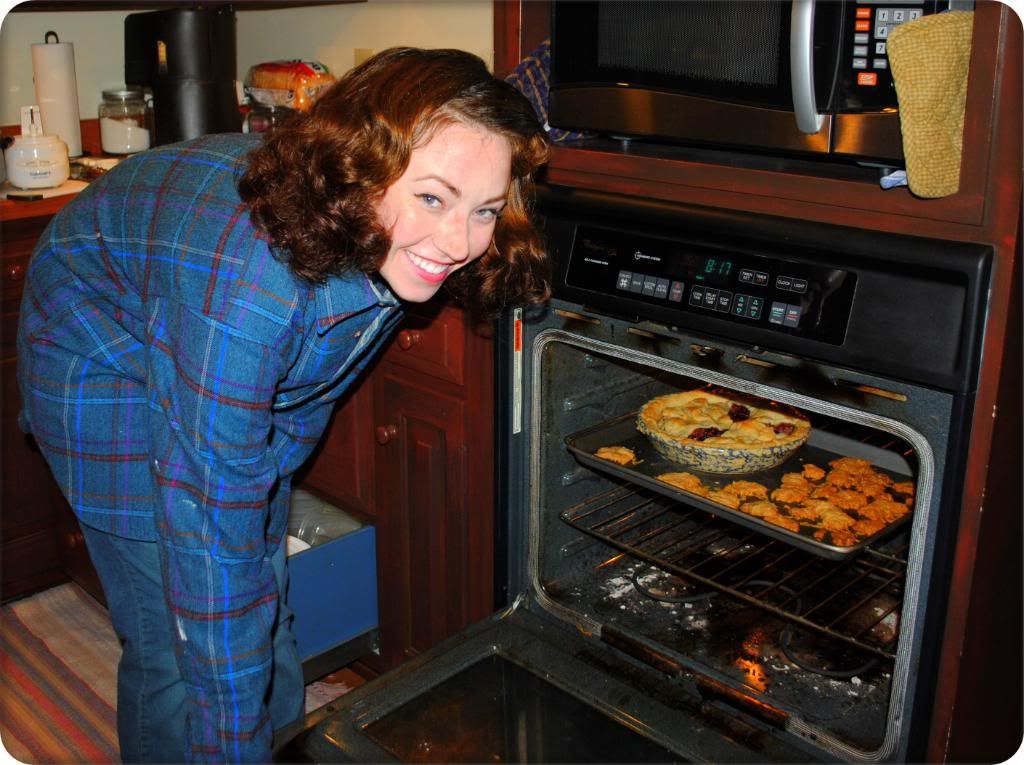
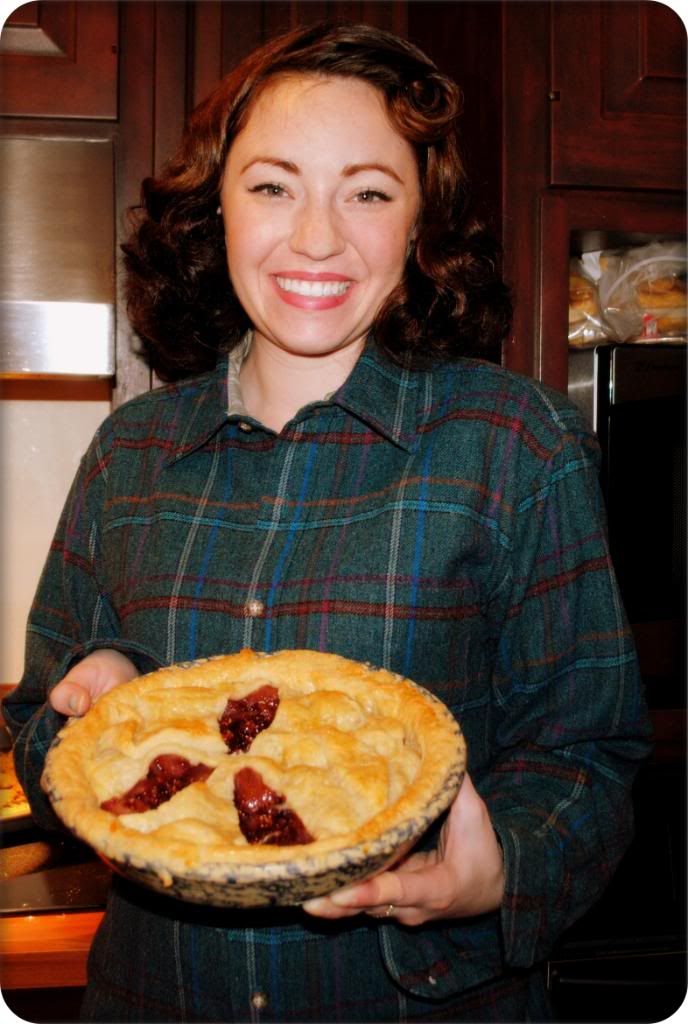
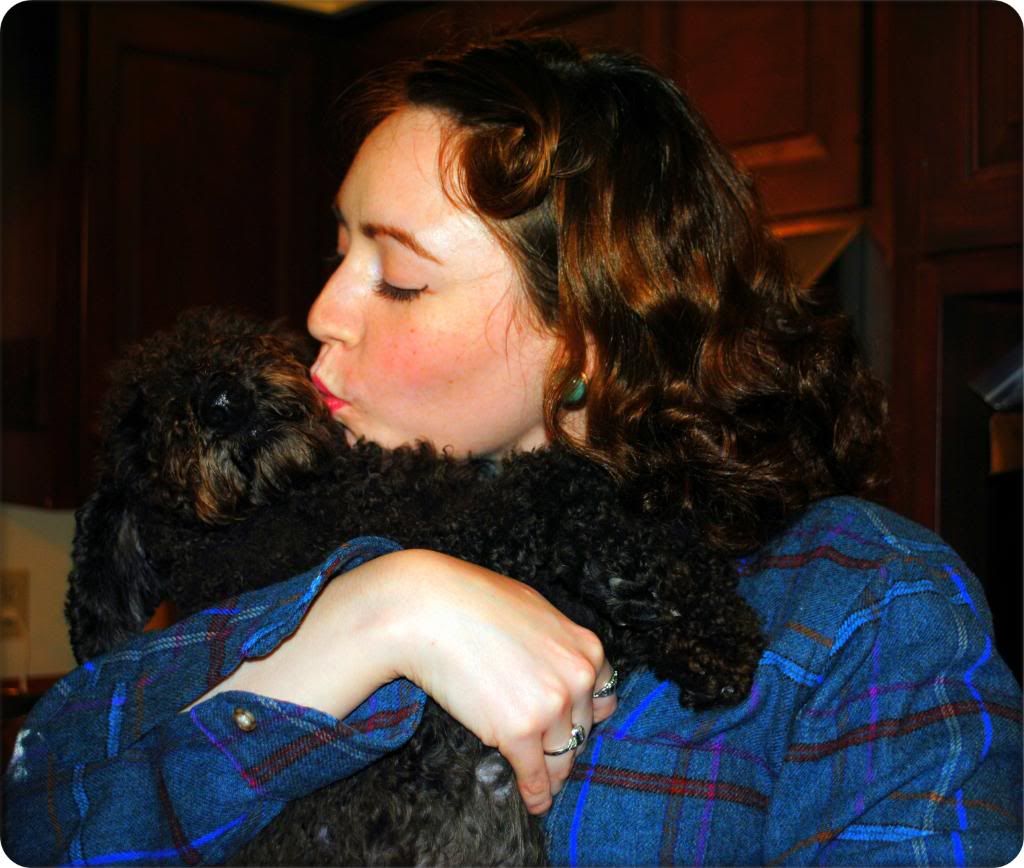
(The only love of my life)
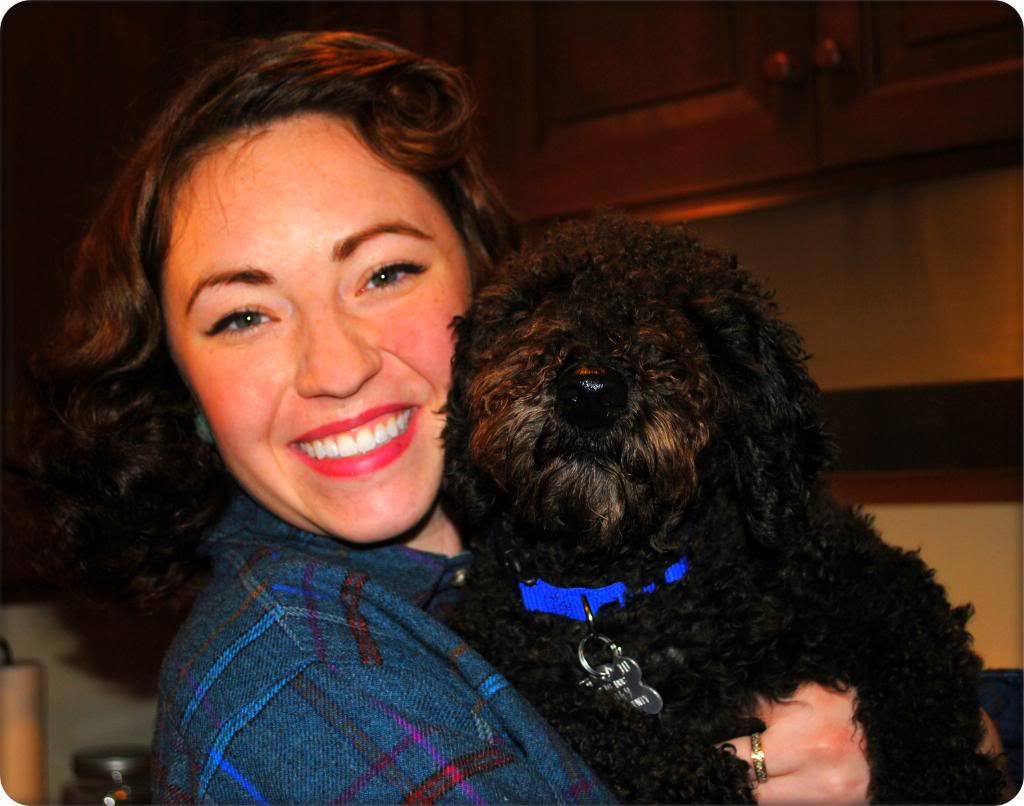
I really must try to convince sweet baby Dexter that he is not really helpful to me sleeping under foot while I'm baking. It truly is not convenient and I continually accidentally step on him and then feel horrid for the rest of the day. But it is lovely to know he will always be my little faithful companion, even when I'm baking human food.

Pendleton 60's Men Shirt: Estate Sale