


So, first, I set my hair in pincurls with pretty wet hair. Now, I normally do not set my hair with it being wet. I usually blow dry it first and then use a spray bottle with setting lotion in it to wet the ends and mist the middle. I find that when I set my hair wet it never dries. Well, last night I set it at 8pm and took it out at 7:45 am, so that gave it almost a full 12 hours to dry, and guess what, it was dry! And I was very happy with the results. My curls were very well formed and springy, and very mold-able. The setting pattern I used wasn't anything fancy either. When I first started doing pincurls for the first time, I sat in front of my vanity and tried to get my sections very even and it would take me almost 1 1/2 hours to do. Way too long, and I hated it. But after I got used to doing them, I started just doing at night in bed without a mirror or anything and doing it by feel rather than by sight, and so far I have been very happy with how it turns out.

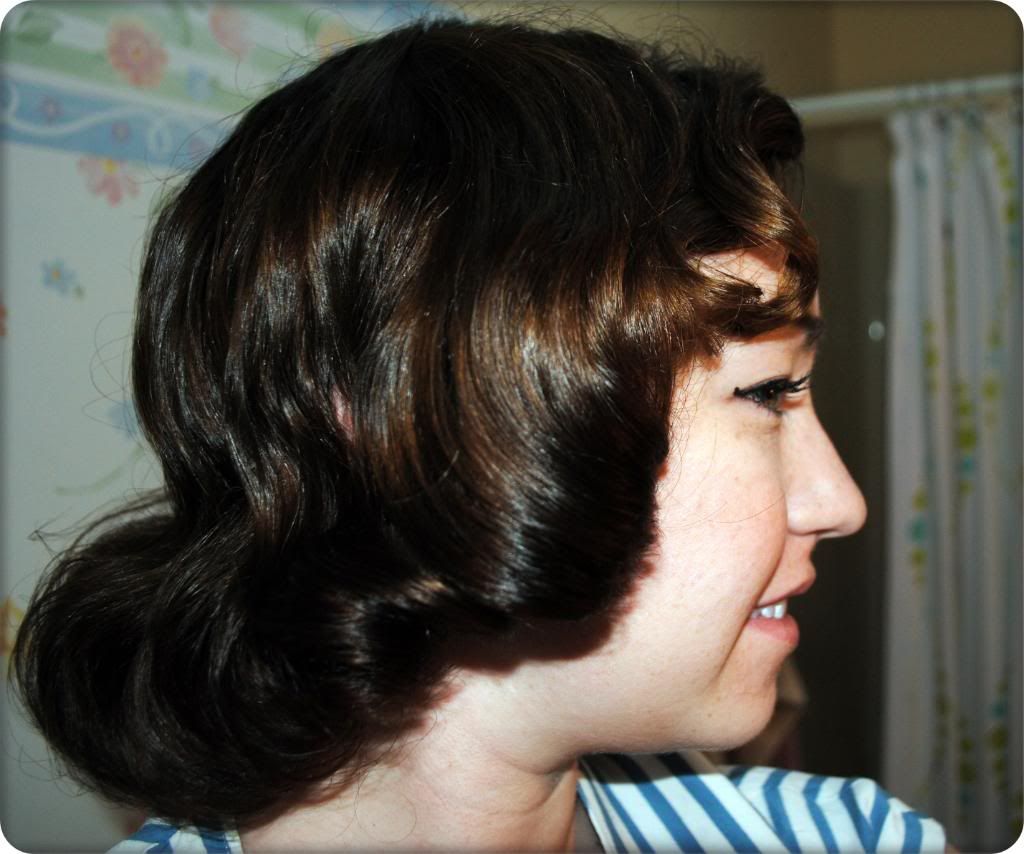
So, for the setting pattern (forgive the lack of makeup), I rolled the hair up like I drew on the picture. I also lined my part on both sides with standing pin curls. I also rolled these up (diagram with X), however, if I were to do this again, I would roll them under (diagram with happy circle).
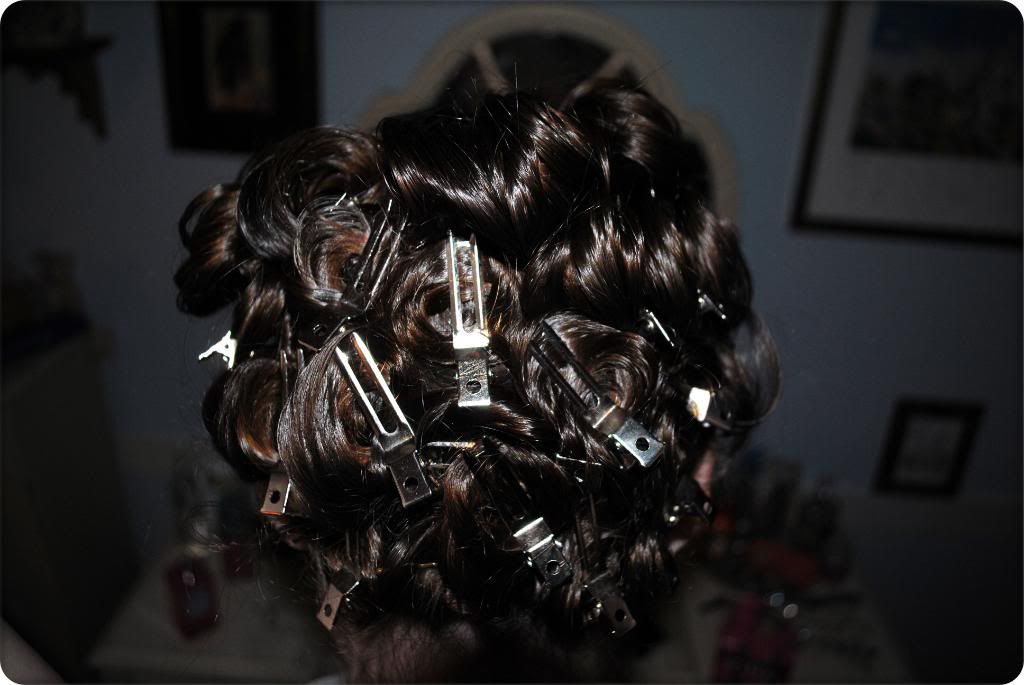
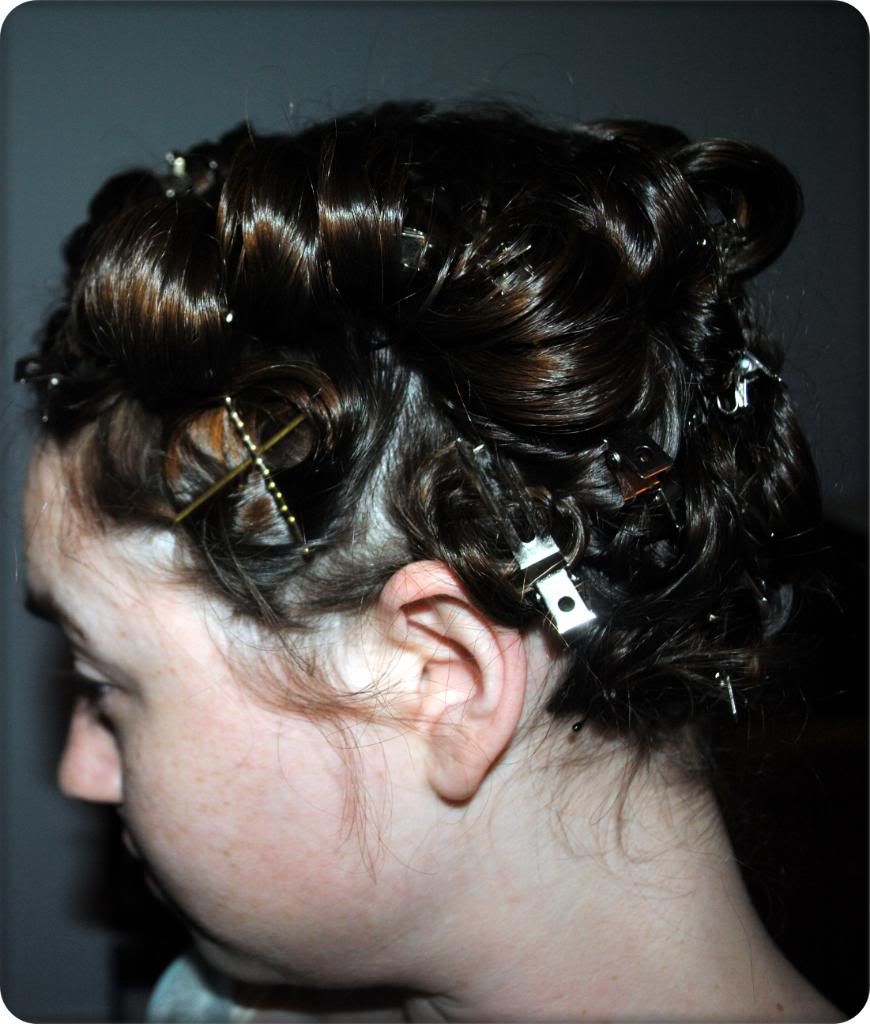
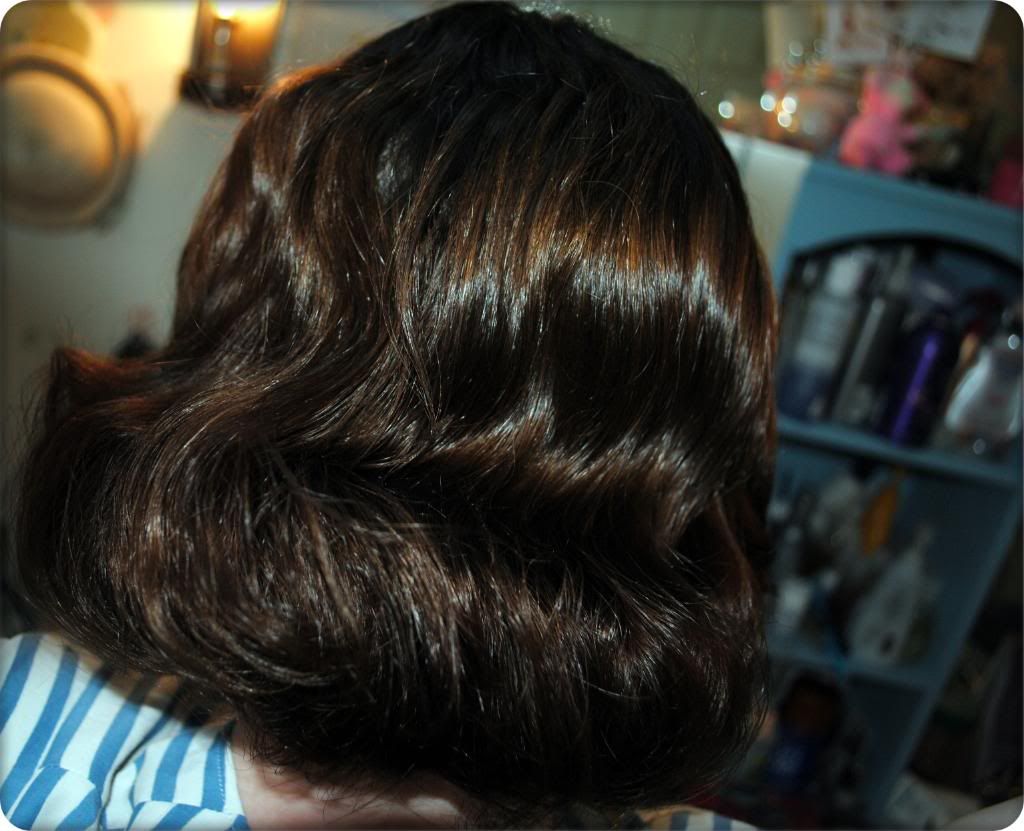
I try to do 3 rows all the way around, though, as you can see, it kind of ends of up in a more random order than I would like.
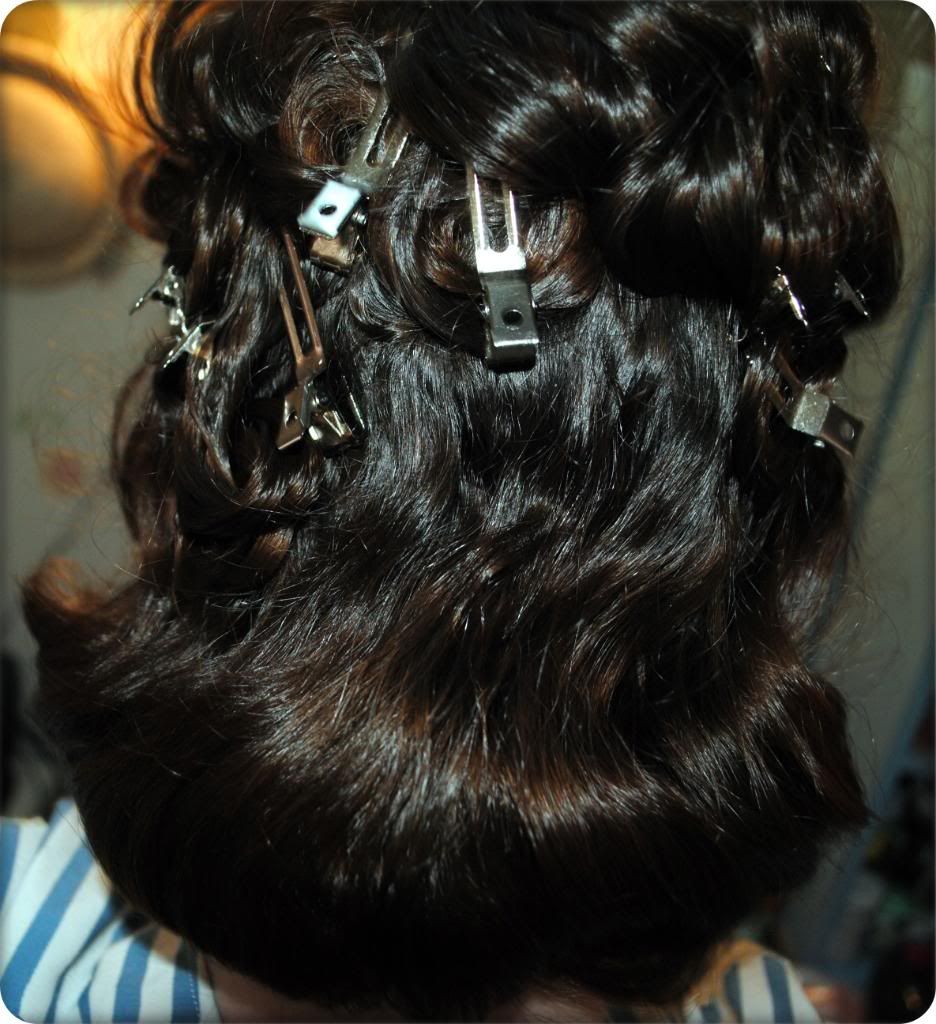
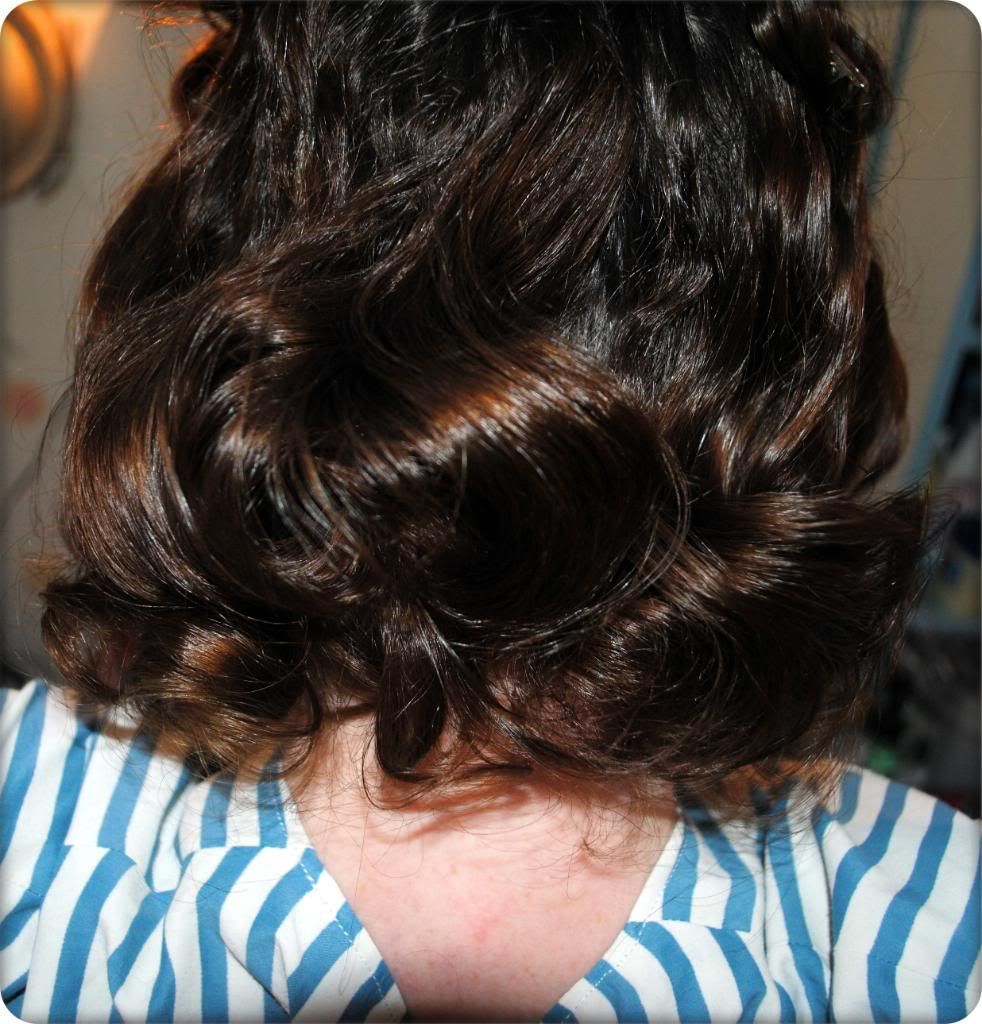
In the morning, I first took out the clips for the bottom row only and used my curling brush to brush out the sections individually and then in larger sections to get a good base form. I used a bit of pomade on the ends to keep the ends curled up (I always have problems with that)


4 comments:
So pretty! I love styles to go with hats. Thanks for the ideas, I need something like this to go to the races in a month. YAY
Love your stripey dress too :-)
lovely.
wow, what great hair! thanks for stopping by my blog :D G x
Wow that looks amazing. I need to brush up on my hair styling skills. Great tutorial and great blog!
http://netpetticoat.blogspot.com/
Post a Comment